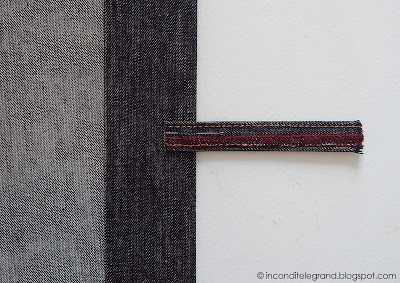
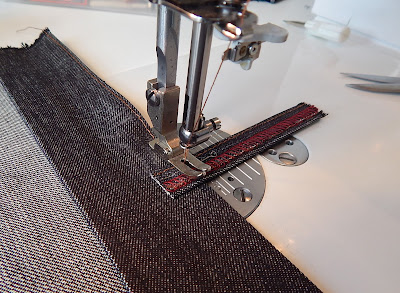
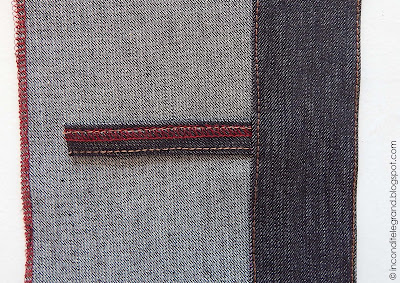
Bar tack is a series of straight stitches covered by zig-zag stitches used for reinforcing areas of great stress on a garments or accessories. You’ll see them on belt loops, bottom of a zipper fly, pocket openings and so on. They are also heavily used on military uniforms, luggage and sporting gear. Most of the time bar tacks are apart of the items design.
In clothing industrie, bar tacks are made using a special machine that most of the time has over 50 different bar tack designs varying in length and with, stitch count and length.
 |
| Diagram of how the bar tack is made on an industrial machine |
As you can see from the above video, the industrial bar tack machine first makes three rows of straight stitches that are placed closely together and then covers those stitches with a zig-zag stitch. It starts and finishes at the same point.
If you have a computerised commercial sewing machine you most likely have an automatic bar tack that you can do by attaching the buttonhole foot. Bar tack is sewn almost the same way on an home sewing machine as it is on the industrial one, only with one exception - industrial bar tack machine sews the bar tack from left to right, the home sewing machine sews it from front to back.
The following tutorial covers how to sew a bar tack on an home sewing machine, if you do not have the automatic option, and how to attach belt loops on jeans with it.
Sewing a bar tack on a zig-zag machine
- Make a row of straight stitches (stitch length - 2,5mm)
- Back stitch the same amount of stitches
- Pick your zig-zag stitch and set the stitch length to 0 and with to 2,5. Do about 4 stitches. (Your needle should end up on left again.) Now set your stitch length to 0,6, and sew as long as all the previously made straight stitches are covered. Turn your stitch length back to 0, do about 4 stitches, clip the threads, pull them to the left side and knot them.
TADA! You just made a bar tack! And now onto attaching belt loops!
- Sew your belt loops in the way you prefer.
I cut 3 to 4 strips that are 3 cm wide and about 20 cm long, serge one edge, then fold them so that the serged edge lays on top of the non serged edge and topstitch my belt loop strips. I always make some extra, because the width may vary, or the topstitching isn't straight...or you know something else may not work out perfectly. That way I can choose and match my belt loops. - Clip the belt loops.
I like to clip my belt loops 3 to 4 cm longer than my finished waistband width will be - if the finished waistband is 5 cm wide, I clip my belt loops about 9 cm long. - Sew one edge of the waistband to the pants, iron.
- Pin your belt loops to the top edge of the waist band as shown below.
- Topstitch the waistband the usual way - all around - sewing over the pinned belt loops.
- Fold back the belt loops and sew bar tacks on top ends
- Fold back the bottom ends to desired length and sew bar tacks, one at a time.
- Cut back/clip away the leftover belt loop.
RTW jeans have most of the time 5 belt loops - 2 in front, 1 on each side and 1 in the center back. I like to have 7 belt loops on my jeans - 2 in front, 1 on each side, 1 in the center back and one in between the side belt loop and the back center one.
- Sew your belt loops in the way you prefer.
- Clip the belt loops.
- Sew one edge of the waistband to the pants, iron.
- Pin your belt loops in place as shown below.
- Fold the waistband over them and topstitch it.
- Fold the bottom of the belt loop back over the waistband leaving some looseness at the end; fold back the top of the belt loops and sew a bar tack
- Cut back/clip away the leftover belt loop.
 |
| Please note that my pin is put in from the wrong side - right now the pin needle head would end up inbetween the waistband, making the removal of the pin almost impossible |
PS that last version is also suitable for slacks and dress pants. ;)


Good tutorial.
ReplyDeleteOne thing I noticed with my jeans is the first piece that wears out is the back belt loop. It breaks at the top due to the belt pulling on it all the time. These are the usual 5-loop jeans. So I am thinking maybe doing 7-loops like you said. Another thing I thought of was to make the back belt loop twice as wide as the other belt loops to make it stronger.